

These napkins started off as 16" x 16" squares cut. I was able to get 4 napkins per yard of material. If I had to do over, I think I would do 18" x 18" as you lose a full 2" while hemming and they felt a bit smaller to me than I had hoped.
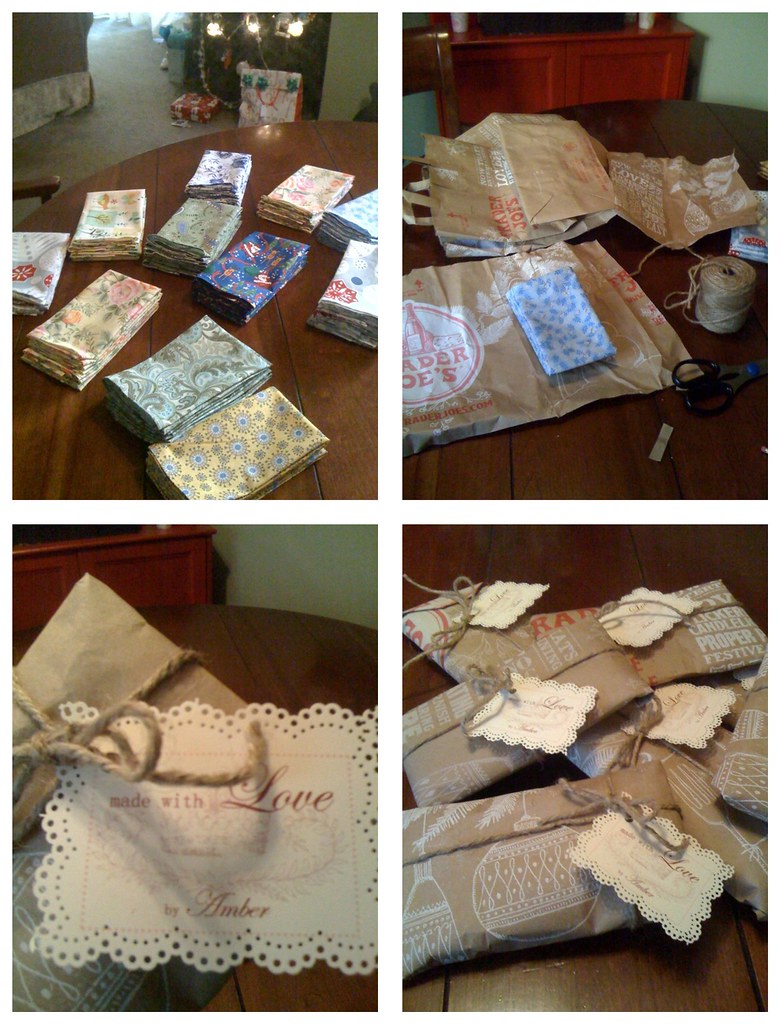
Fun fact about the below material used for napkins: it came from a yardsale following one of the many cycles of America's Next Top Model. Some of my friends used to work on the show and they gave me the heads up that a lot of stuff used for set decor was being sold. This was a twin duvet cover from Ikea that I got for probably $1.
1. Pre-wash your cotton and either line dry or iron the cotton when it is wet. Cut out either 16" x 16" or 18" x 18" squares. It's faster to use a rotary cutter with a mat underneath as opposed to scissors. A carpenter's L shaped metal ruler is perfect as they are exactly 16" and your napkins will be perfectly square.
2. With patterned side of fabric face down, fold each corner 1/2" up, iron, then fold it up 1/2" and iron again.
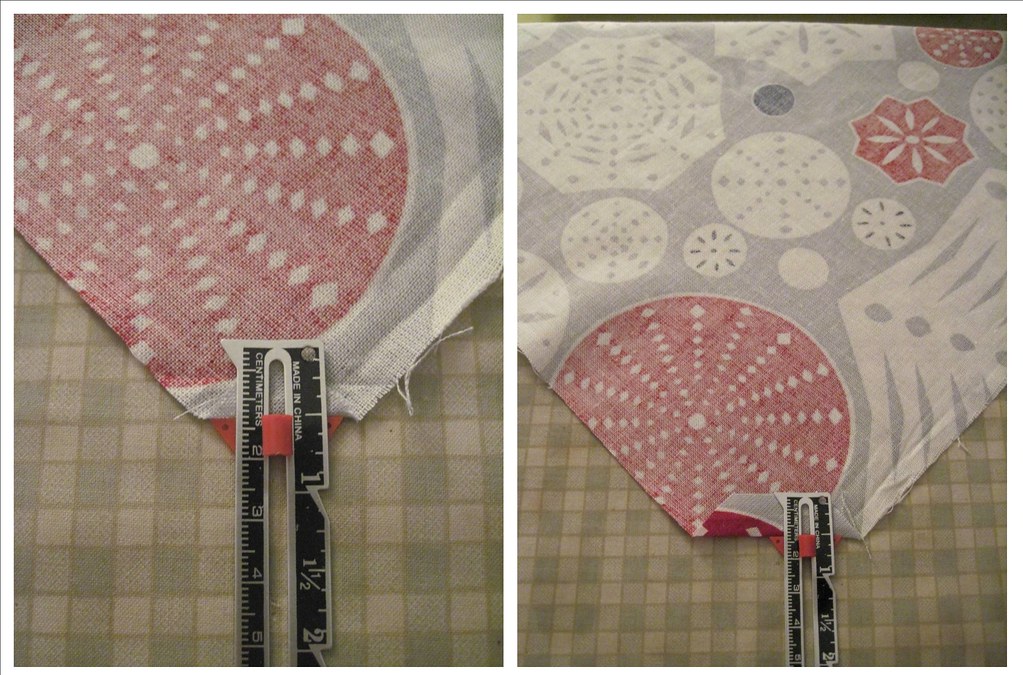
3. Once all corners are folded in and ironed twice. Fold the edges of the napkin up approximately 1/2" to meet the edge of the corner. I say approximately because you don't want to do a full 1/2" because it then messes with the final bevel.
4. Once all edges are folded in and ironed once, it is time to finally bevel the corners in to make that perfect "V". I recommend folding two corners, pinning them, THEN ironing the edge up in between as the fabric will help fold itself in once the corners are pinned.

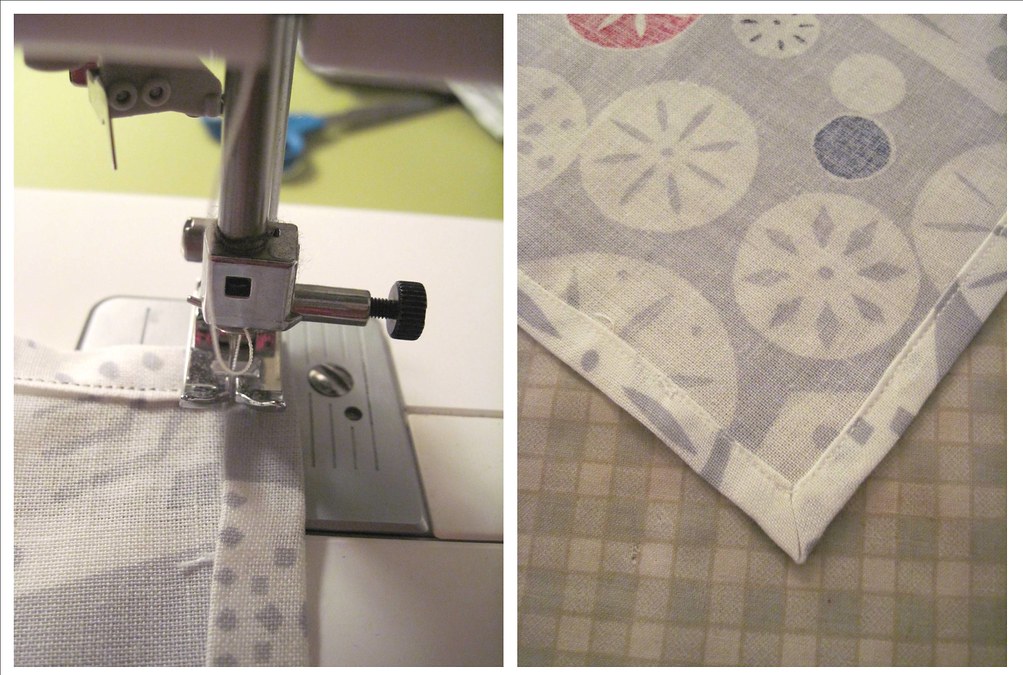
5. When it is time to sew the napkins, make sure that your needle is aligned as close to the edge of the hem without sliding off of the hem. When you arrive at the corners, you will need to slow down and hand turn the wheel to position the needle directly at the "V". Sink the needle into the fabric, pick up the foot, and pivot your napkin to turn the corner. Keeping the needle in creates a perfect continuation of the hem.
6. Repeat as many times as you can handle and enjoy!


5 comments:
I LOVE those! Particularly like the eco-friendliness of reusing the trader joe's bags. Fabulous, as usual.
Ooh la la! Very pretty.
Do you know the trick for sewing many slightly-less-fancy napkins? Where you take your length of fabric and sew two of the edges before cutting the napkins? So if you were making 4 12-inch squares, you'd sew the top and bottom seams on a 12x48-inch piece of fabric? And then cut it into four pieces?
I've never done it, but I've heard it's great. I did all of mine individually, and they're super ghetto... no two are alike. But they're for everyday use.
Geez, who knew I'd have so much to say about napkins?
Thanks, Eva!
Katie, glad you likey! I like the idea of making them so quick in a line like that. Might try it next time for some fast and easy napkins.
LOVE. Now, can you come over and give me a tutorial on my new sewing machine?
WOW! You're an award winning wedding planner.......and you still find time to sew! You make your mamma proud! Yes, I checked out my napkins~ and your technique is superb!
Love you, Mom
Post a Comment